How can we bring gait labs to our patients, using just their phone?
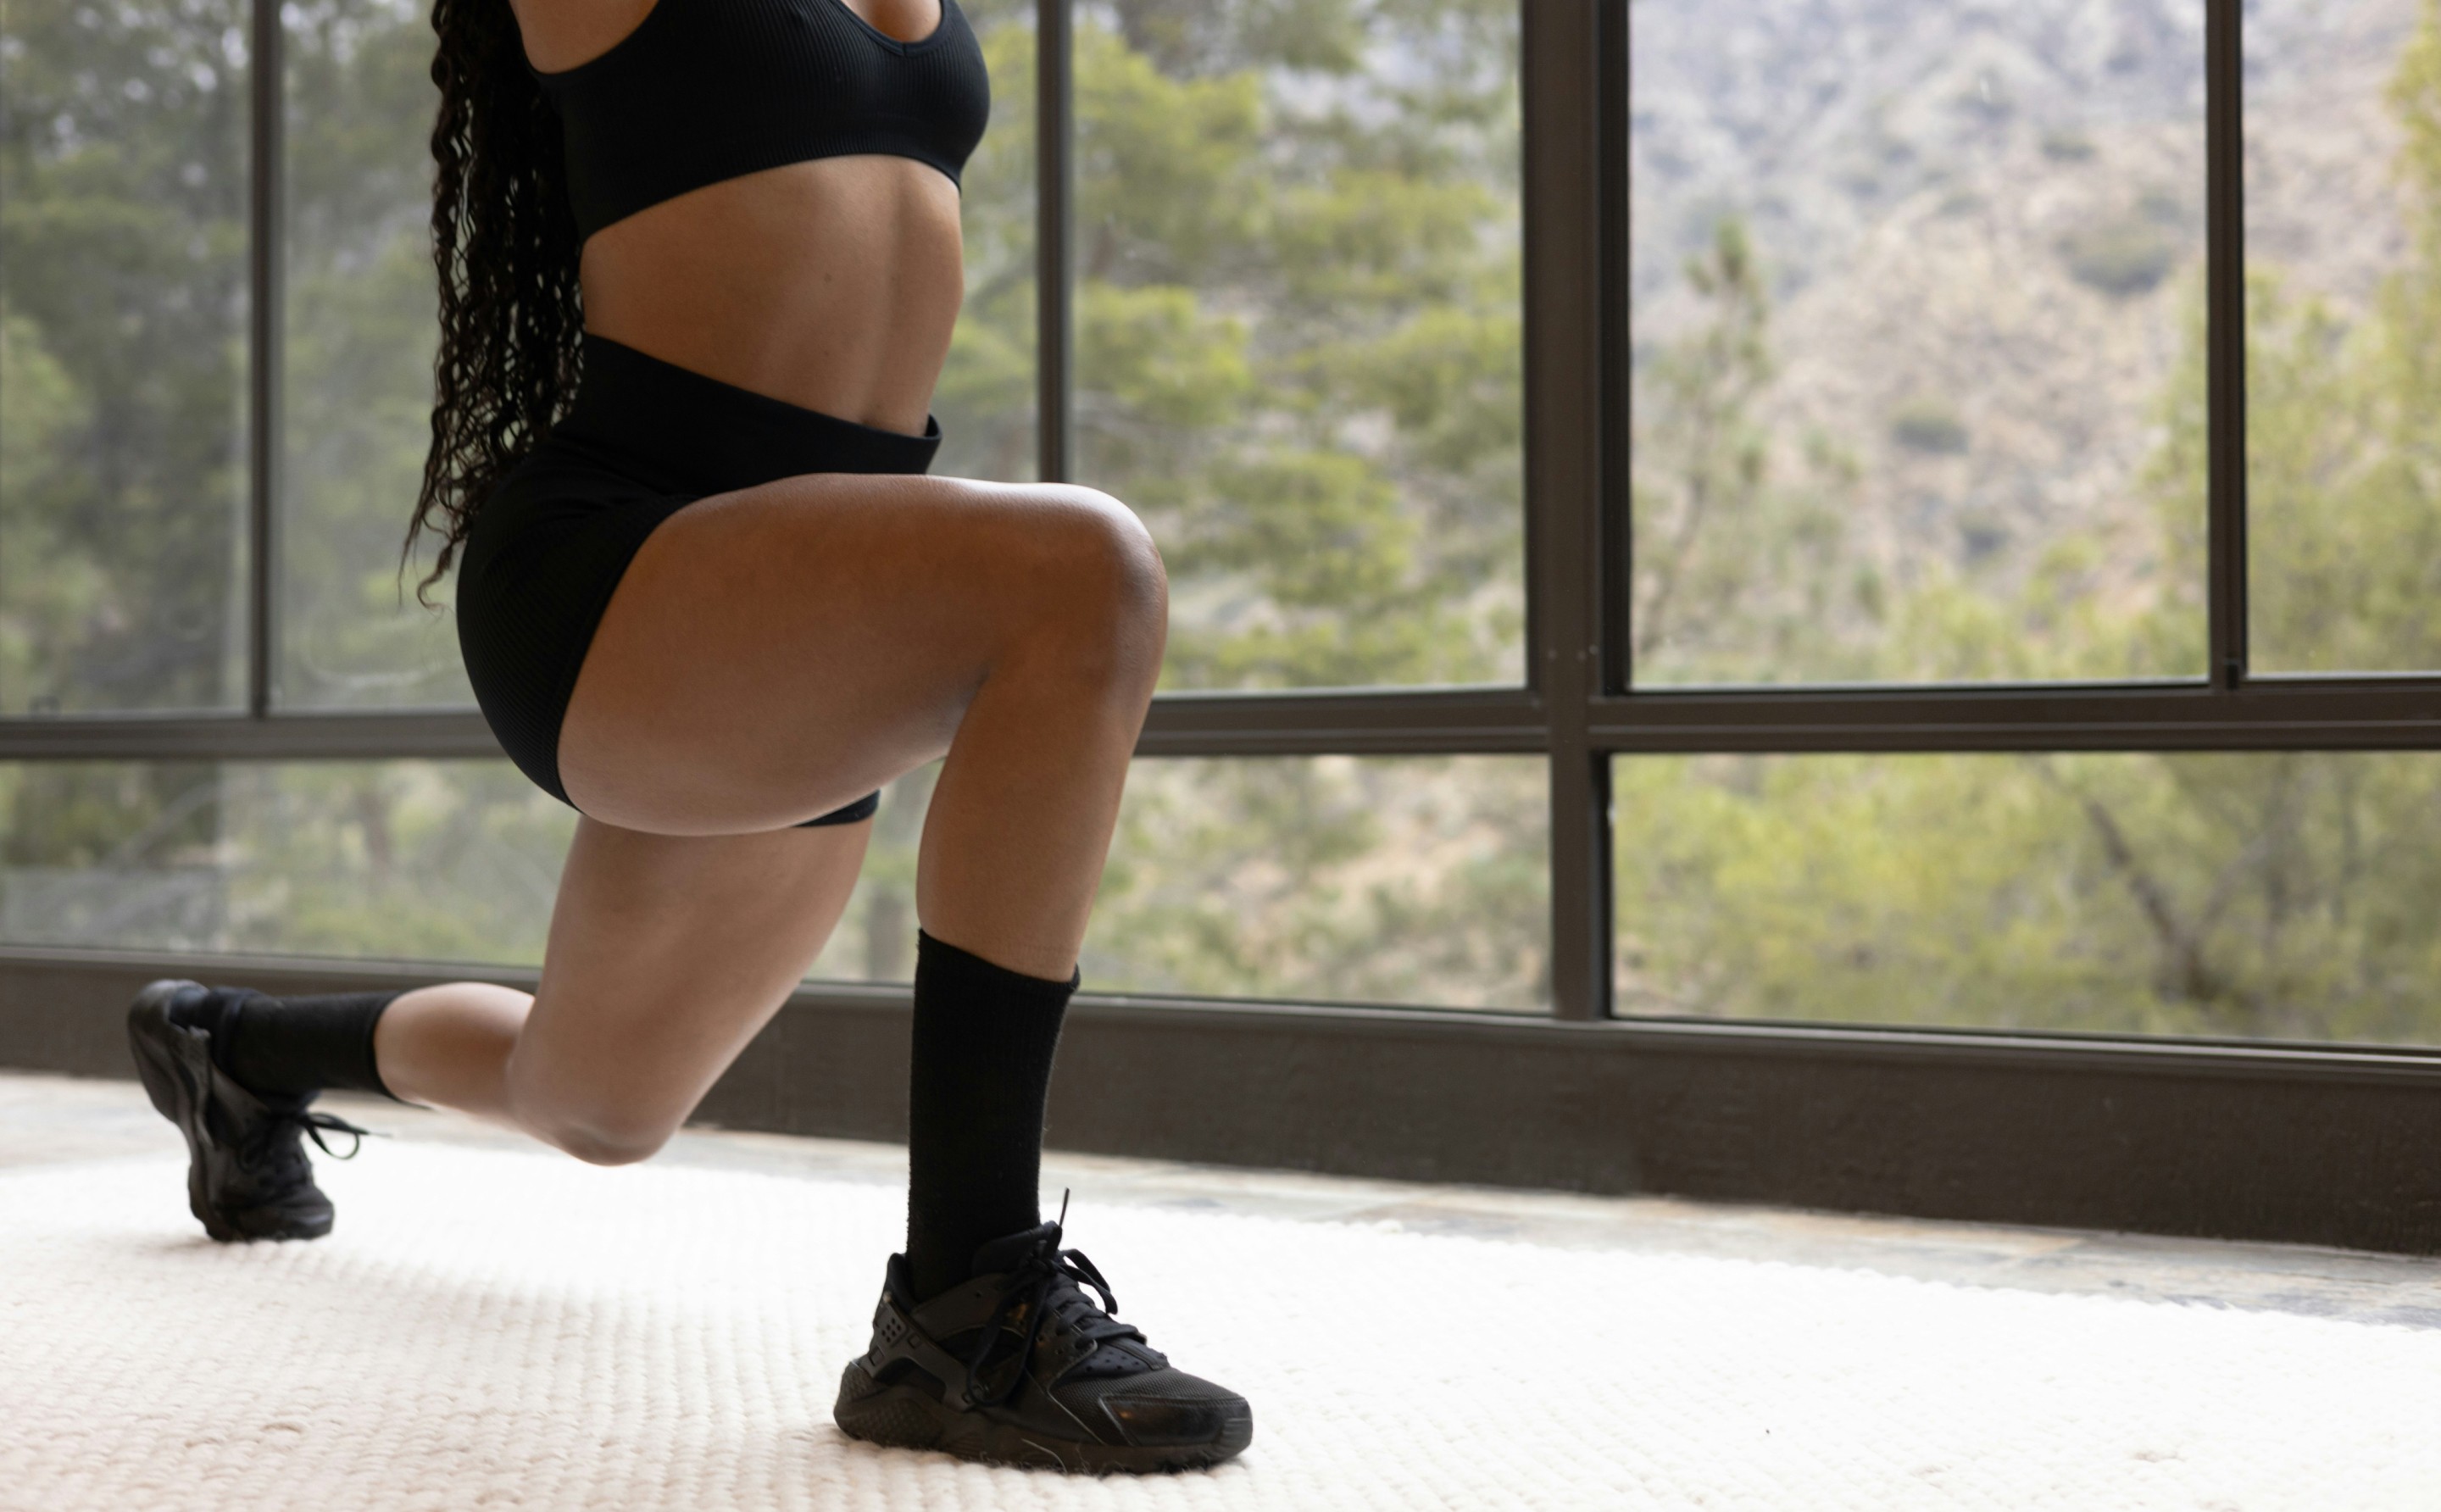
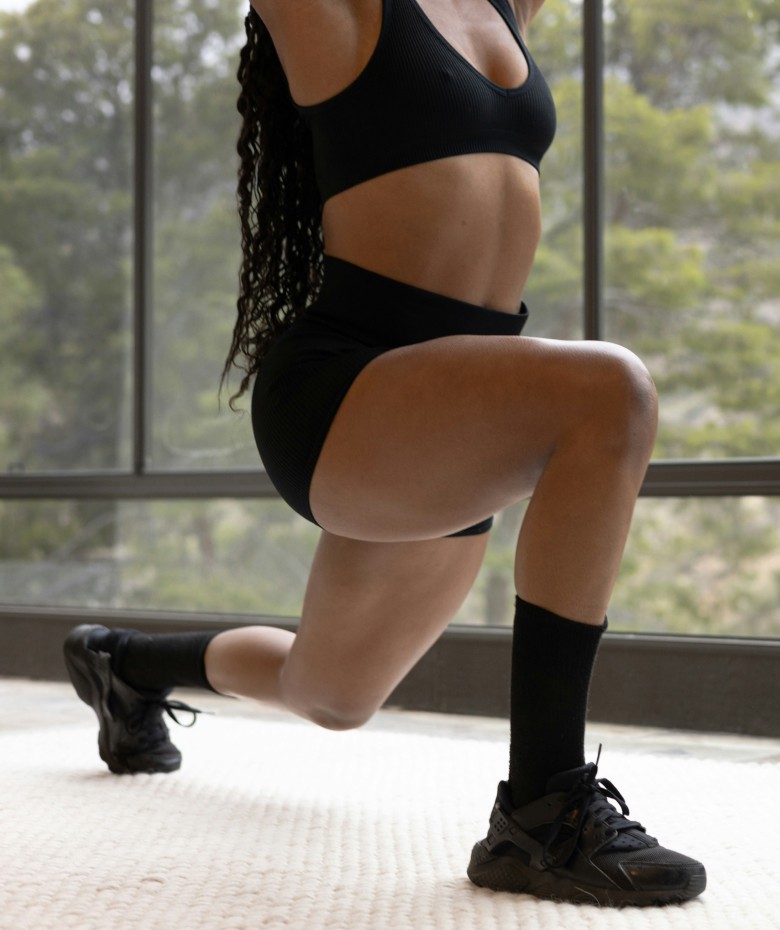
Gait labs are used to film and map a body's range of motion. This provides valuable insight to the orthopedic community and aids in advancing the care and treatment of musculoskeletal health. However, they cost millions and are only available to a few. Working alongside our internal research and development team we began to investigate how we could bring the sophisticated insights provided by a gait lab to our patients.
Fast facts
Role:
Lead product designer
Deliverables:
UX & UI.
Team:
Gait lab research and development team, Junior designer, Software engineers
Year:
2019
Research
What is the lab experience?
First, we needed to acquaint ourselves with the physical experience we were trying to emulate digitally. We undertook two research approaches to deepen our understanding of not only the step by step process undertaken in the lab, but also the technical requirements of the research and development team.
Approach 01
Observational sessions
Breaking down an action you do every day is hard. Informal observation sessions allowed us to collate the necessary steps in the process, and observe the lab personnel's intuitive problem-solving and guidance they gave patients to get the best results.
Approach 02
Lab tech & r&d
team interviews
These were a great way for us to further understand the technical requirements of the research and development team. We ran through a series of scenario-based questions focusing on the parameters of success for capturing acceptable video content within the home. This gave us a framework for the 'at home' filming experience.
Client workshop
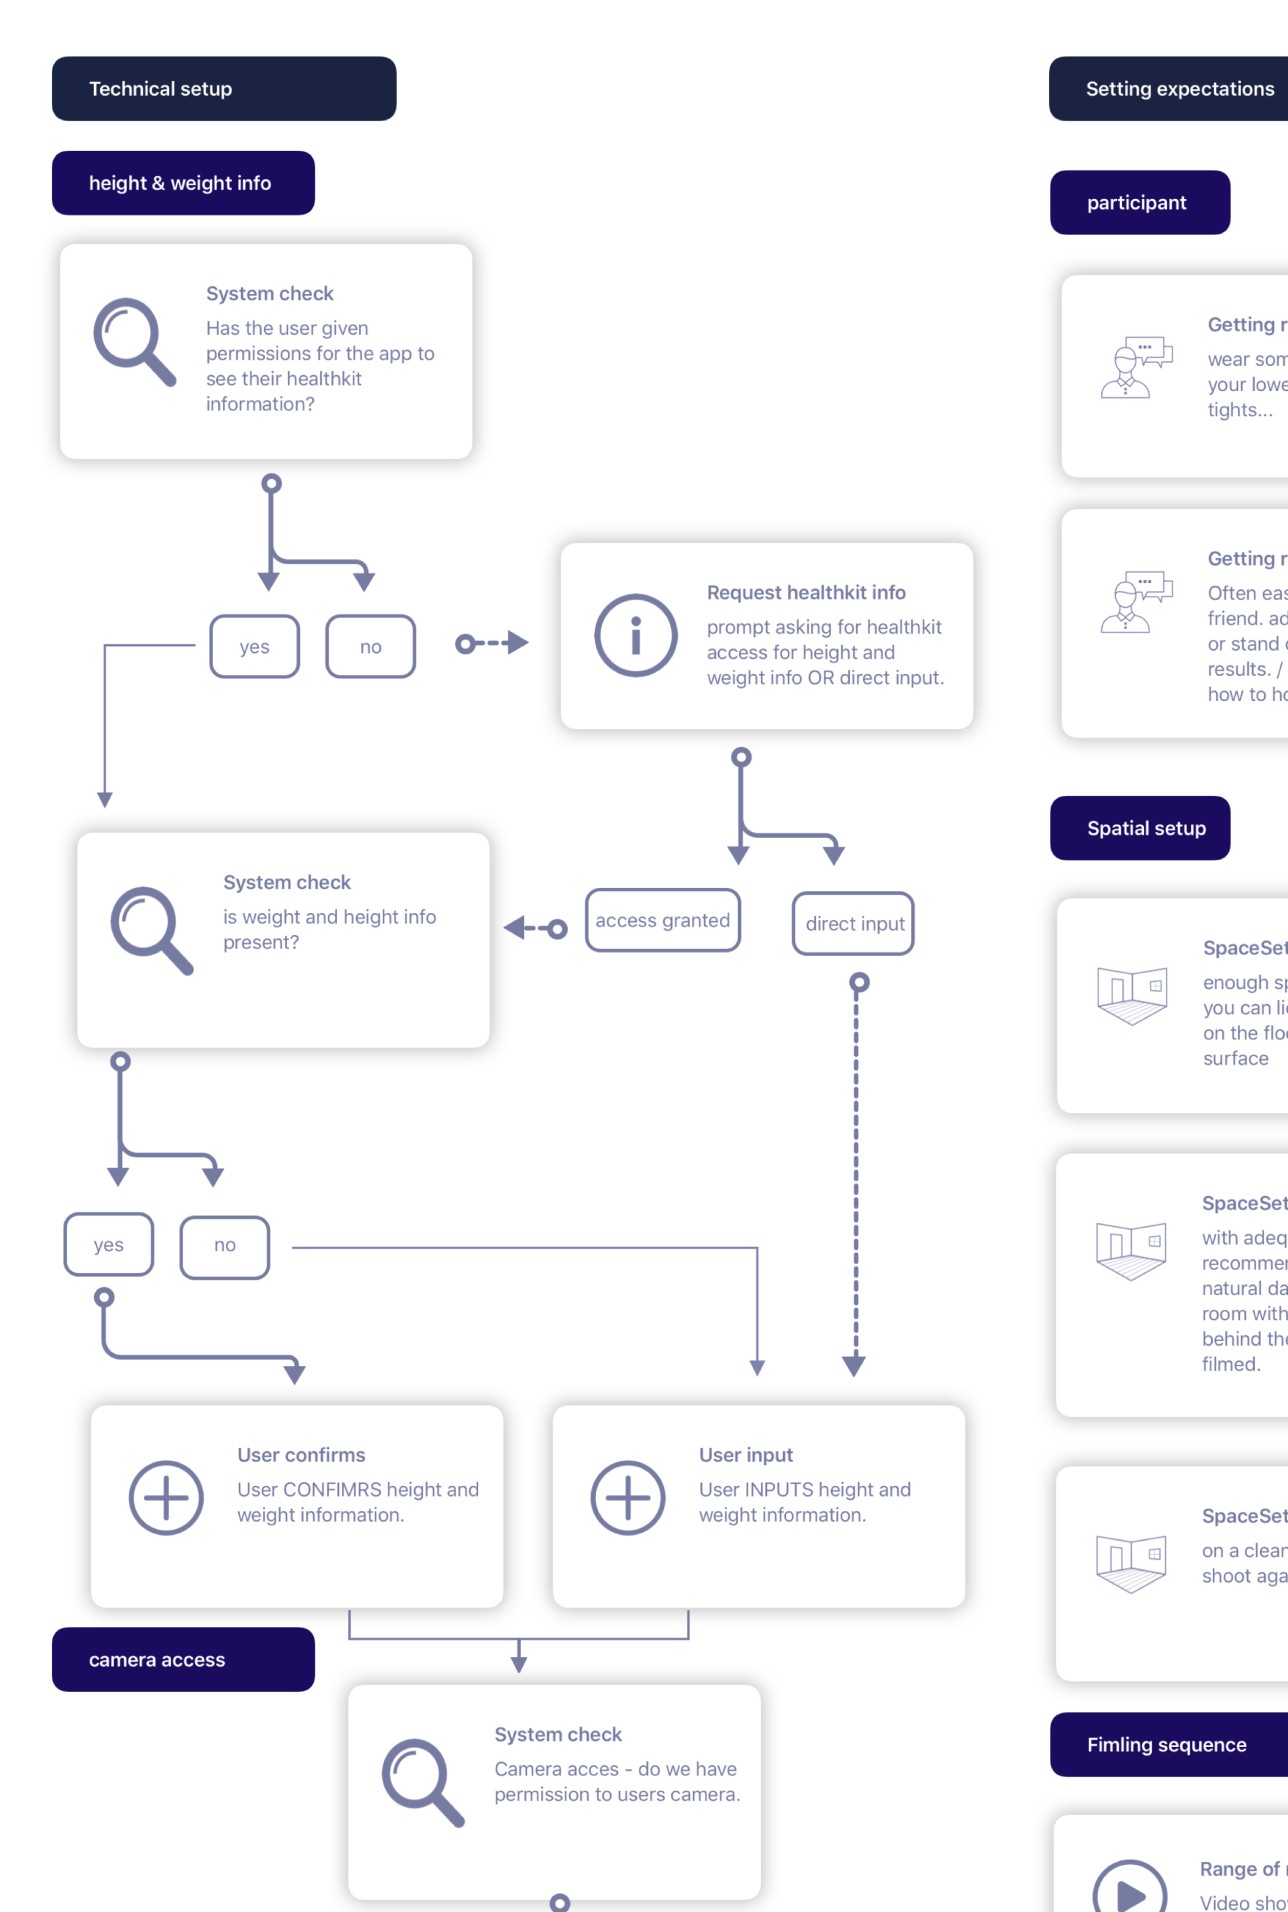
Now we knew the steps within the lab it was time to flesh out how they would translate into an app experience. Assembling the captured requirements into a user flow enabled us to clarify we had understood all the necessary steps, and also enabled us to break the new feature into five manageable sized stages. This aided us with cross-disciplinary scheduling and flushed out more of the technical discussions early on in the process.
User testing
From the lab to the home
With the process sorted from the lab technicians' perspective, we then wanted to investigate the process from our users' perspective. Were there any unforeseen moments of friction that our users were likely to experience when using this feature in their own home? Armed with a phone, participant, and filmer we undertook a walkthrough of each moment of the currently proposed process. This uncovered two critical design challenges.
Design challenge 01.
The at home filming experience
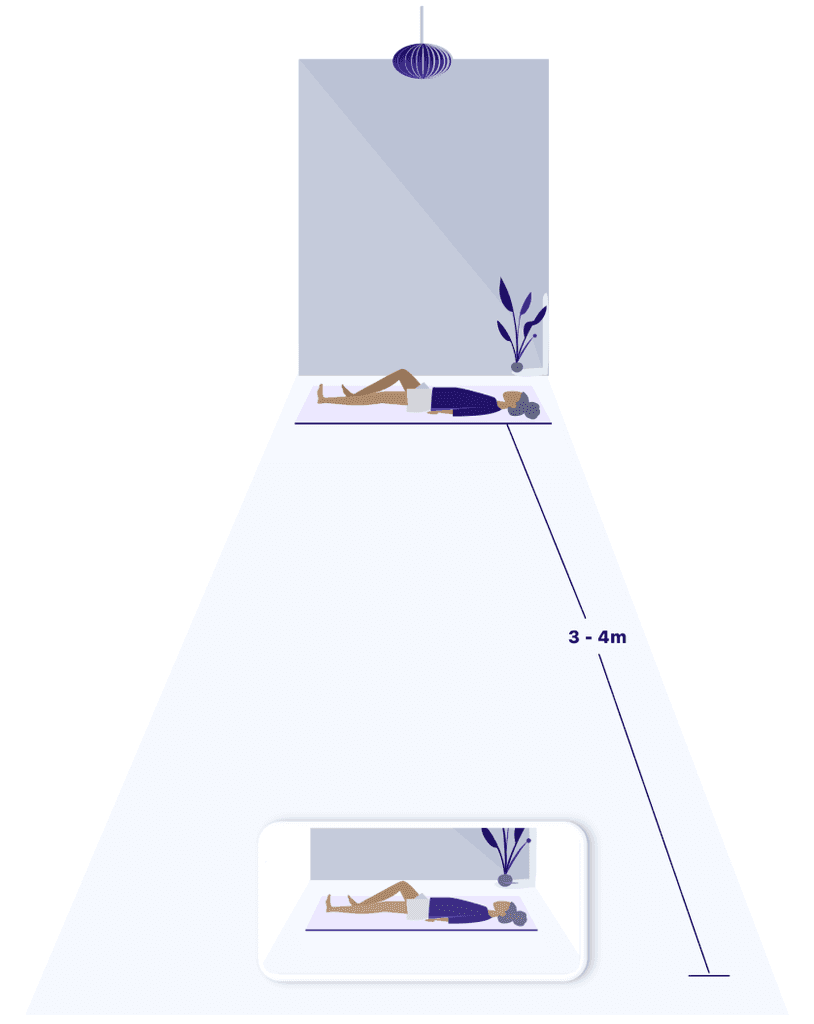
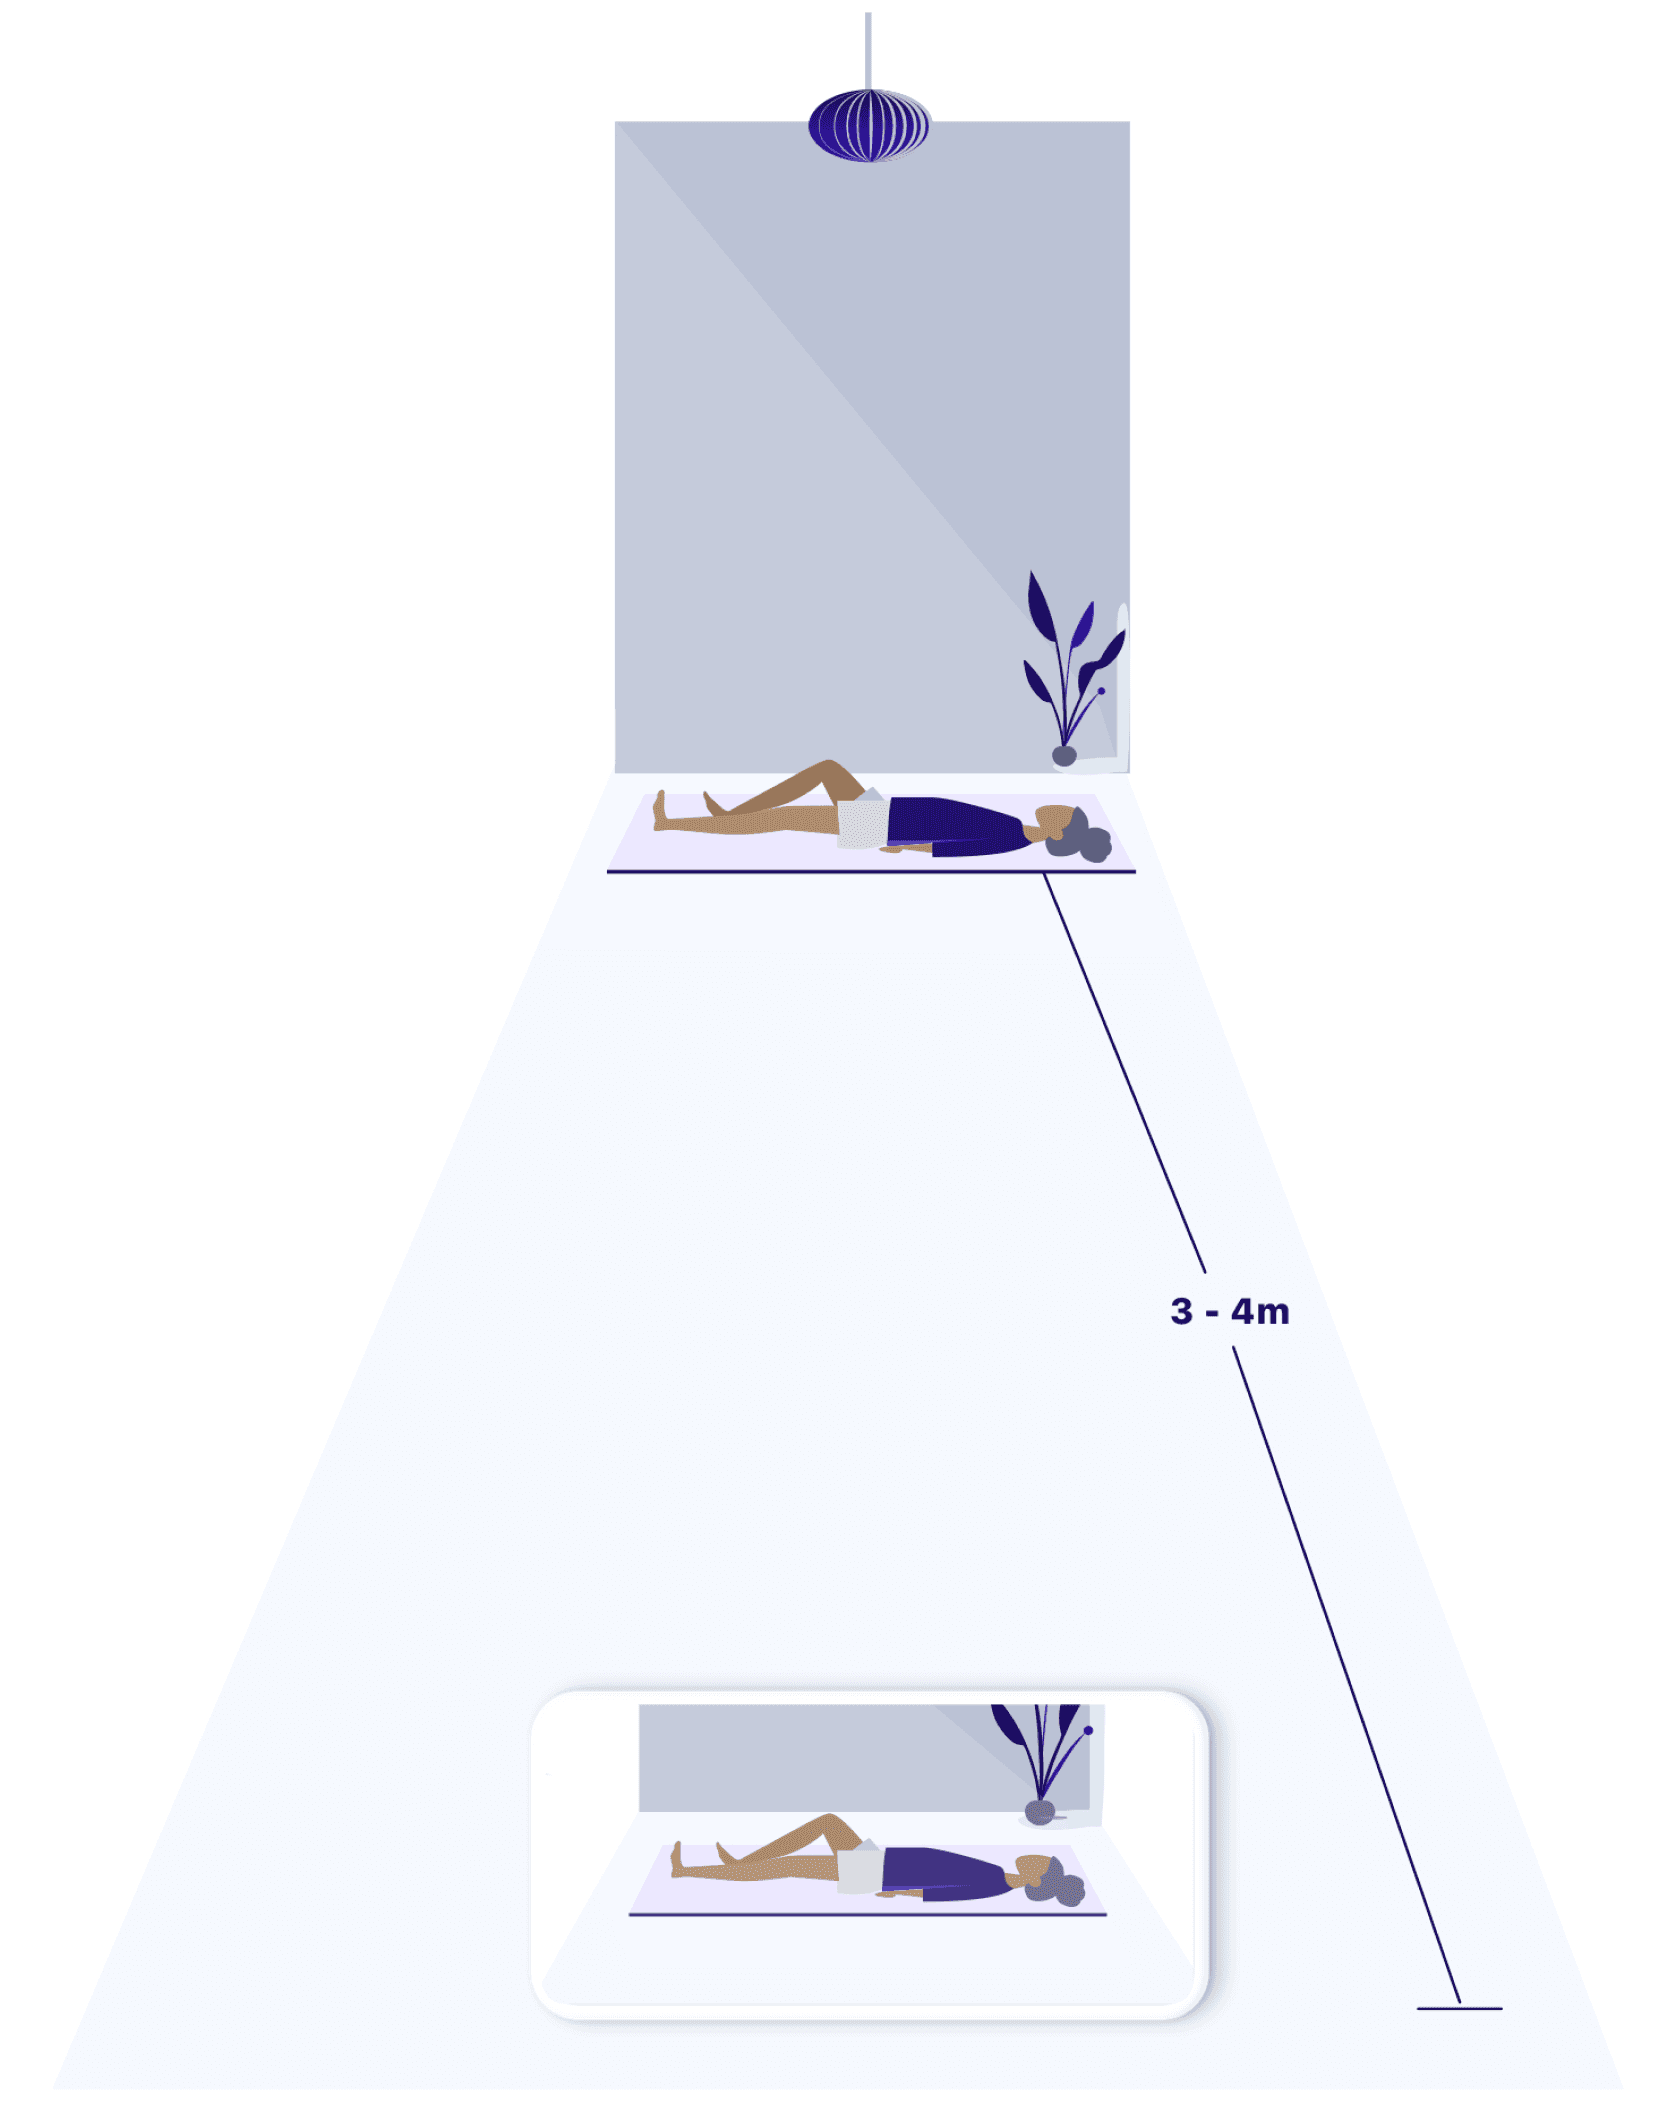
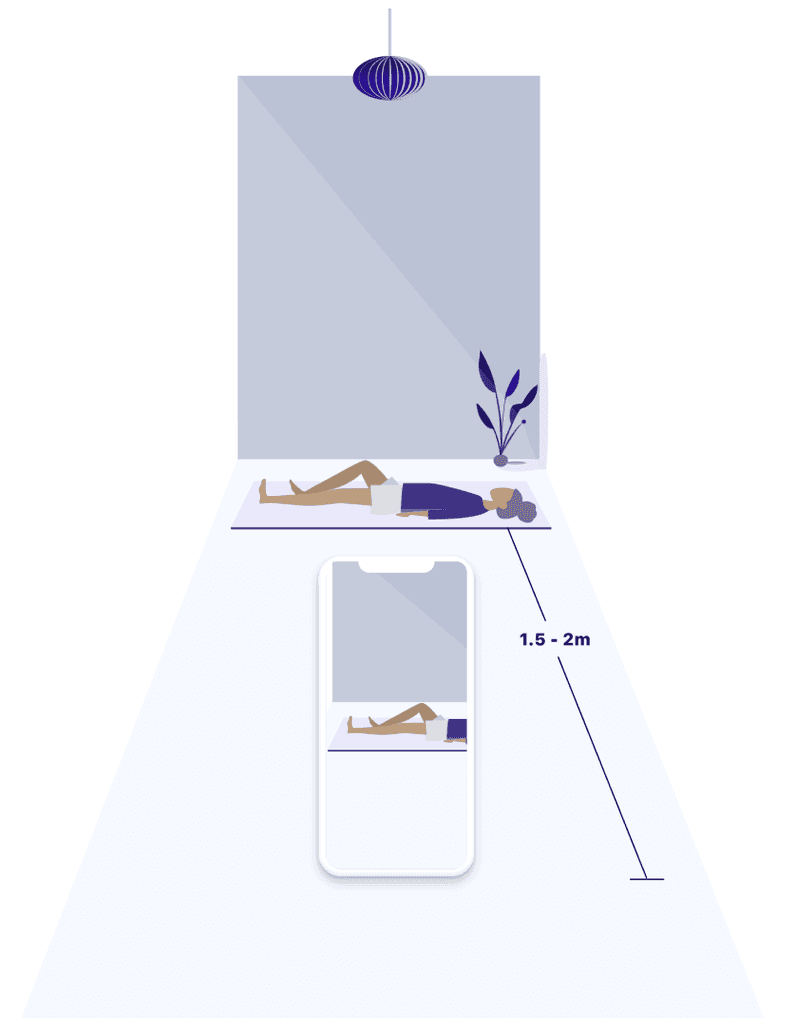
Within the first iteration of the feature, we only had the bandwidth to support videos in one orientation. During the walkthrough exercise, it became apparent that supporting landscape videos with the whole length of the participant's body in shot (as per r&d team's request) was problematic. Although simple to achieve in the lab with motion cameras, our phones' cameras had a smaller field of vision, which resulted in filmers needing to be 3 - 4 m away from the participant. This was difficult to accommodate in a standard sized room with furniture. Our second issue was stability. Videos were required to be shot with tight tolerances on the rotation of the phone. Holding the phone to the required conforming angles during filming was difficult.
Design challenge 02
Supporting our filmer as coach & camera operator
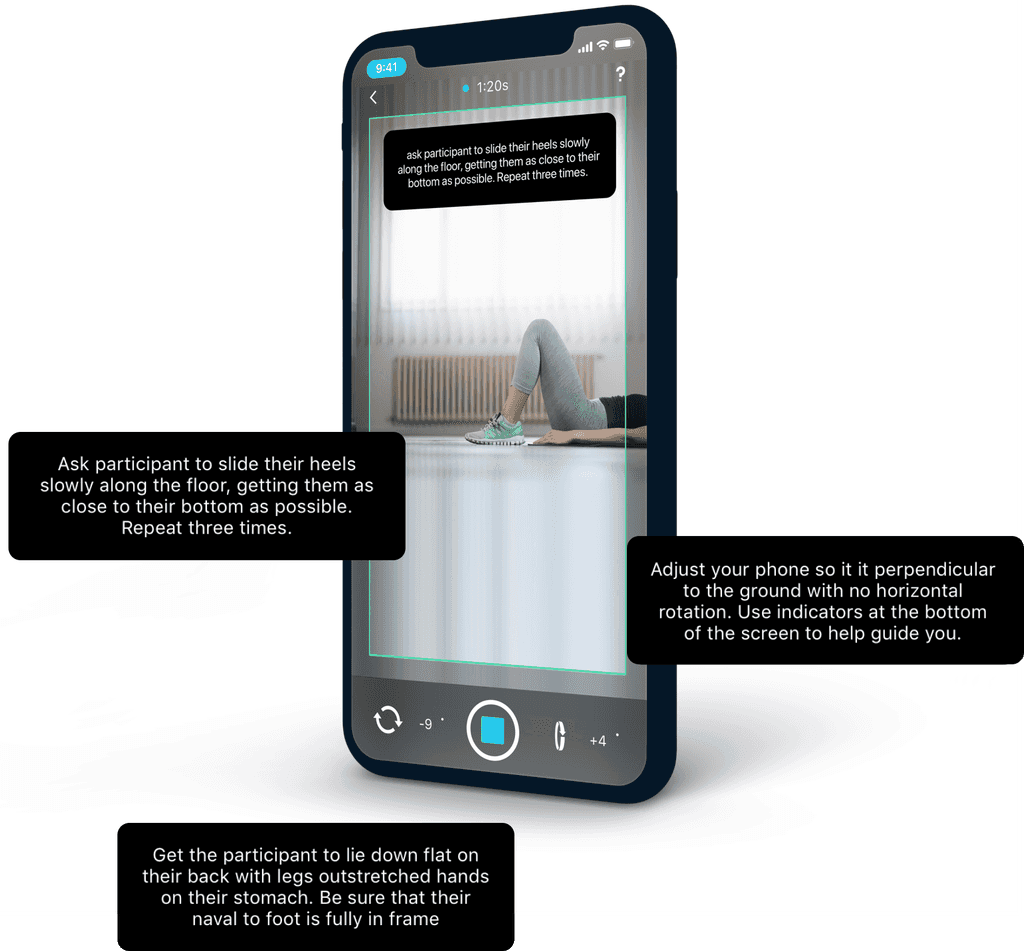
During both the walkthrough and lab observation sessions, it was apparent that the filmer had two roles to fulfil. The first was to capture the video to conforming levels of rotation. The second was to provide assurance and guidance to the participant being filmed. Rather than rely on the filmer and participant's ability to recall the instructions as relayed to them during the intro to the feature, we created an experience that provided real-time coaching prompts and rotation feedback during the recording process
Filmer as coach
The right info at the
right time
By breaking the long complex instructions into small bite-sized steps we were able to present our filmer with step by step instructions during filming. This meant users were instantly empowered to enact or respond to instructions. Removing the need to remember steps or reference them and leave the filming experience. With constant support supplied for both filmer and participant, we aimed to alleviate user frustration and avoid the user from becoming overwhelmed by the features learning curve. Also with this in mind, we looked to utilise as much of the native recording interface as possible.
Filmer as camera operator
Guiding the filming process through onscreen indicators
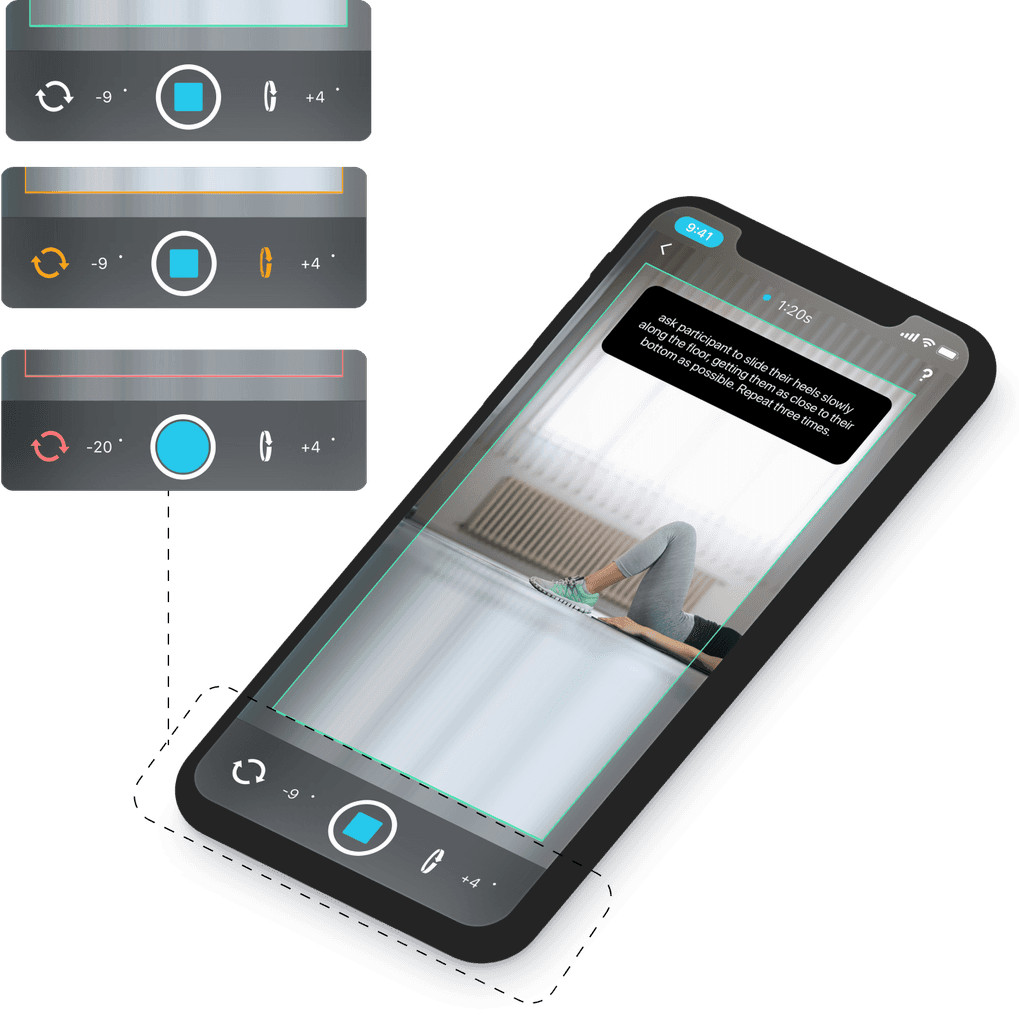
By introducing two gyroscopic indicators on either side of the native record button we were able to communicate the device's exact rotation horizontally and vertically. These indicators also incrementally through colour communicated the degree to which a user's phone was complying with required filming angles. Warning them before they did not comply and reassuring them with the green light when filming conditions were perfect.
Project
Some other elements
This was a really interesting feature to work on and it involved a whole raft of different design exercises to support it including feature uptake, education and results sections. We also did some interesting virtual reality and augmented reality research that didn't make it to the page / into the MVP but if you would like to chat about any of these elements too, I'd love to take you through the nitty-gritty.
